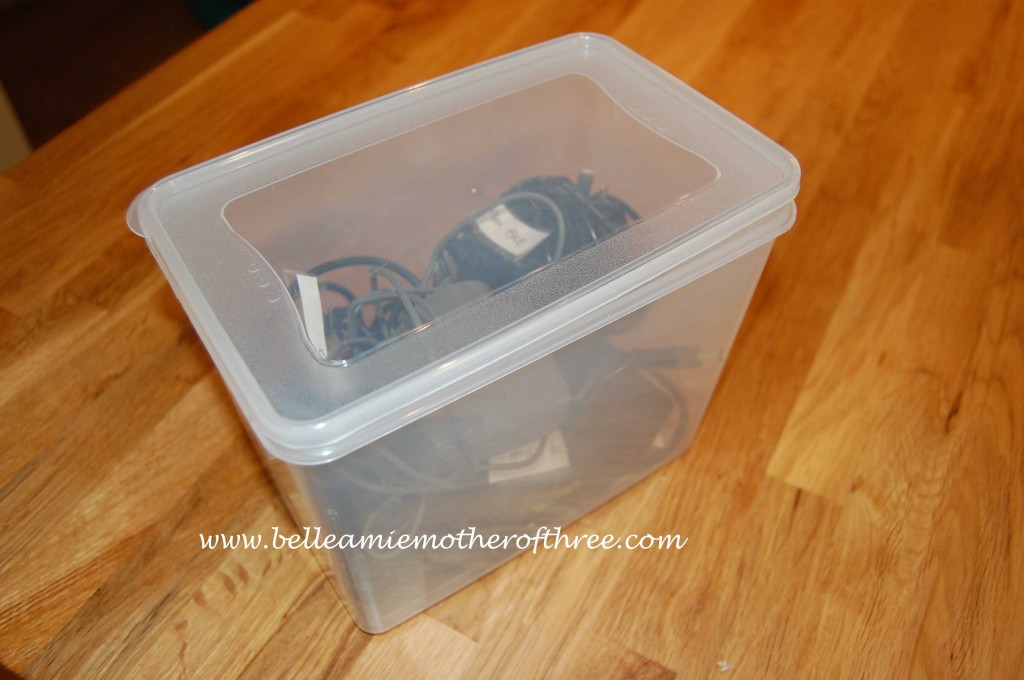
So now that everything is electric and no longer made out of wood, that means a charger comes with it. We have so many chargers for so many different things, remote controlled cars, phones, cameras, Barbie scooter you name it . Here I shared with you my post on the DIY Charging Station that we made for the phones as they are handy to have out because they get used most days. But what about all the other charges the ones you only need sometimes, are yours in a big tangled mess?
Today I am sharing how I went from a tangled stress of a mess to a charger container. Dig out all your charges, go through them as chances are some in that pile are from old phones that you don’t even have anymore, if so get rid of them.
Once the cull is complete, find a ‘home’ for them. Somewhere out of sight, but somewhere you can get to them easy enough. I am storing mine in a plastic container and it lives in a kitchen cupboard. 
If you want to go one step further to make it even easier to find the right charger when you need it you can lable them. I like to wrap the cord around the charger so it takes up less room and doesn’t get stuck to others. I wrote what each charger was for on white paper, cut it out and stuck it on with clear sticky tape, no fancy pants label maker required. That easy. Now when I need a charger I can grab it out in a hurry with out any dramas.
Renee
If you have just found my blog be sure to ‘Like’ my blogs Facebook page so you get all my tips on organising, DIY, parenting, meals, gardening, party planning, just anything to do with channelling your inner Supermum! Feel free to share any links with your other yummy mummy friends to help them to!

Leave a Reply